深度增强学习算法不关心具体的控制对象,算法具有通用性,同一种算法可以适应于多个任务。
因此可以把深度增强算法直接用于具体的控制任务中,前提是需要定义一个环境。
环境的信息包括状态、动作和奖励。
对于一个机械臂,状态只需要定义成机械臂的关节角以及关节角速度就行了。
文献[deep reinforcement learning for robotic manipulation with asynchronous off-policy updates]中的状态定义为:
State features include the 7 joint angles and their time derivatives, the end-effector position and the target position, totalling 20 dimensions.
7 个关节角度和角速度 + 末端操作器的位置 + 目标位置 = 7 + 7 + 3 + 3 = 20。
文中的奖励为:
d 为末端操作器与目标之间的距离,u 为动作。
对于动作的设计:
Both arms were controlled at the level of joint velocities, except the three JACO finger joints which are controlled with torque actuators.
文中提到了两种动作:关节角速度层面的控制和力矩马达。
关于 Pendulum-v0 的环境设计:
https://www.jianshu.com/p/af3a7853268f
https://github.com/openai/gym/wiki/Pendulum-v0
根据公式
newthdot = thdot + (-3*g/(2*l) * np.sin(th + np.pi) + 3./(m*l**2)*u) * dt
可以看出动作为扭转力,然后转化成力矩,得到角加速度,然后经过 dt的积分得到新的角速度。
为了得到 mujoco 的控制,分析 mujoco_py 中的例子。
1. body_interaction.py
控制语句:
sim.data.ctrl[0] = math.cos(t / 10.) * 0.01
sim.data.ctrl[1] = math.sin(t / 10.) * 0.01
<actuator>
<motor gear="2000.0" joint="slide0"/>
<motor gear="2000.0" joint="slide1"/>
</actuator>
gear 应该为齿轮,具有放大的作用。
<joint axis="1 0 0" damping="0.1" name="slide0" pos="0 0 0" type="slide"/>
<joint axis="0 1 0" damping="0.1" name="slide1" pos="0 0 0" type="slide"/>
damping 是阻尼的意思,slide 说明是一个滑动关节。
我们更关心转动关节的控制。
位置控制
<actuator>
<position joint="j" kp="2000"/>
</actuator>
<joint name='wr_jr' type='hinge' pos='0 0 .7' axis='1 0 0' range='-1.57 0.8'/>
一个 7 自由度的仿人机械臂 <actuator>
<!-- ================= Torque actuators ================= /-->
<!--<motor joint='s_abduction' name='As_abduction' gear="100"/>
<motor joint='s_flexion' name='As_flexion' gear="100"/>
<motor joint='s_rotation' name='As_rotation' gear="100"/>
<motor joint='e_flexion' name='Ae_flexion' gear="70"/>
<motor joint='e_pronation' name='Ae_pronation' gear="70"/>
<motor joint='w_abduction' name='Aw_abduction' gear="30"/>
<motor joint='w_flexion' name='Aw_flexion' gear="30"/>
<motor joint='rc_close' name='Arc_close' gear="10"/>
<motor joint='lc_close' name='Alc_close' gear="10"/>-->
<!-- ================= Position actuators ================= /-->
<position joint='s_abduction' name='As_abduction' kp="100" ctrlrange='-1.57 .7'/>
<position joint='s_flexion' name='As_flexion' kp="100" ctrlrange='-.85 1.57'/>
<position joint='s_rotation' name='As_rotation' kp="100" ctrlrange='-.85 0.85'/>
<position joint='e_flexion' name='Ae_flexion' kp="70" ctrlrange='-1.5 1.05'/>
<position joint='e_pronation' name='Ae_pronation' kp="70" ctrlrange='-1.5 1.57'/>
<position joint='w_abduction' name='Aw_abduction' kp="30" ctrlrange='-0.5 0.5'/>
<position joint='w_flexion' name='Aw_flexion' kp="30" ctrlrange='-1.05 1.05'/>
<position joint='rc_close' name='Arc_close' kp="10" ctrlrange='-1.05 1.05'/>
<position joint='lc_close' name='Alc_close' kp="10" ctrlrange='-1.05 1.05'/>
</actuator>
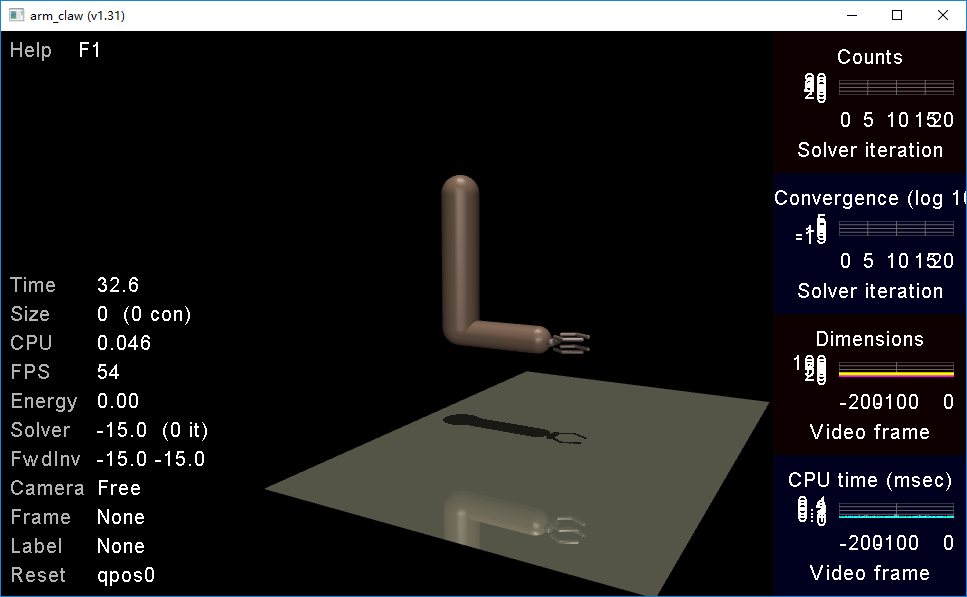
可以使用算法,对这个机械臂进行控制。
控制语句使用 ctrl
墨之科技,版权所有 © Copyright 2017-2027
湘ICP备14012786号 邮箱:ai@inksci.com